
Welcome to Kerbo Glide
Kerbo Glide is the brand new cable insertion tool:
- Easily insert your charging cable into the Kerbo Charge channel without bending down.
- Developed based on the requirements of Motability.
- Attaches to your existing charging cable in 2 minutes.
Order today for only £59.99
Order now“It’s been such a game changer”
Kerbo Charge team member Sara Sloman chats to Lauren, a Motability customer from Carmarthenshire, about how she uses her Kerbo Glide.
Step by step — setting up your Kerbo Glide tool
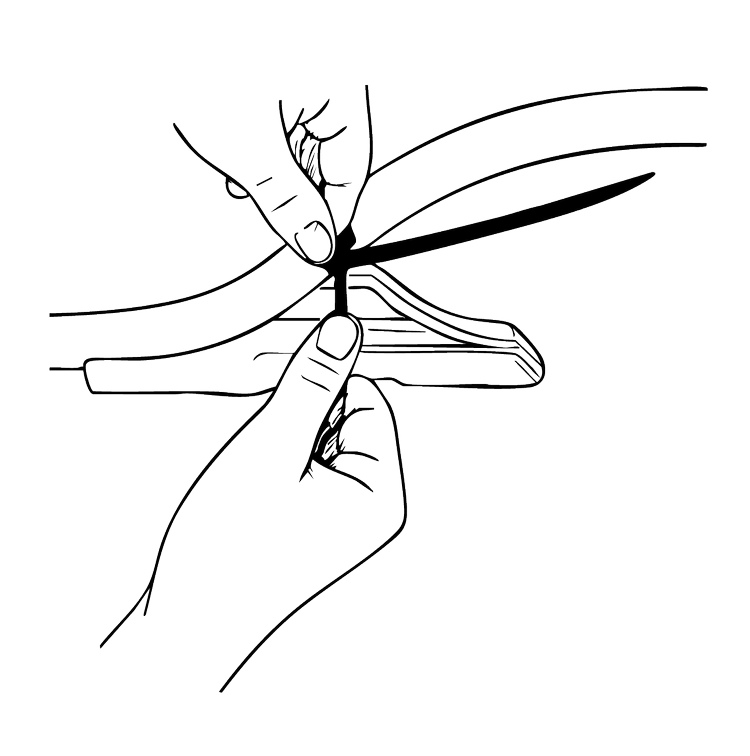
1. Attach the zip-tie
Thread the zip-tie into the slot underneath the Kerbo Glide so that the big square block at the end of the zip-tie nestles into the square hole underneath made for the purpose.
Carefully cut off the loose zip tie material once you've tightened it onto your cable.
Make sure there are no sharp edges on the zip-tie once you have cut off the end — if necessary sand off the edges using sanding paper.
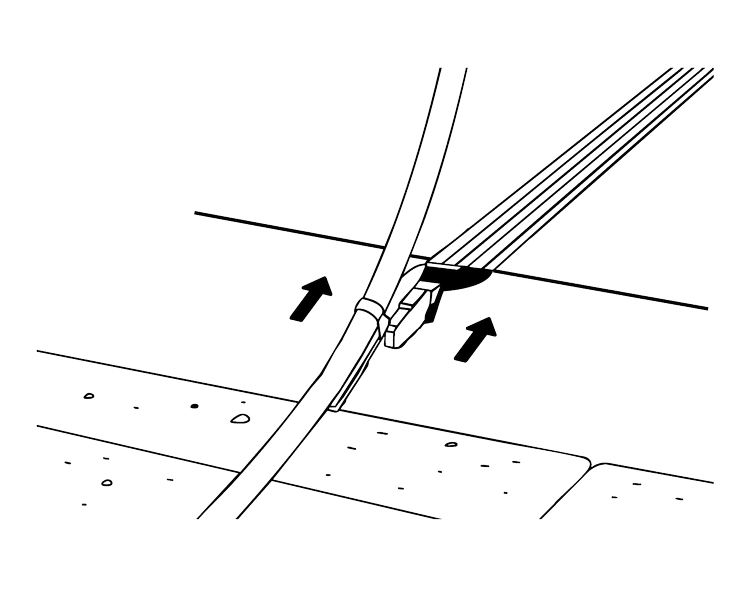
2. Position your Kerbo Glide tool
You may need to twist the Kerbo Glide on your cable to adjust it so that it hangs downwards to fit into the channel.
Hold your charging cable and position the Kerbo Glide at the entrance to your Kerbo Charge channel on the kerb side of the pavement.
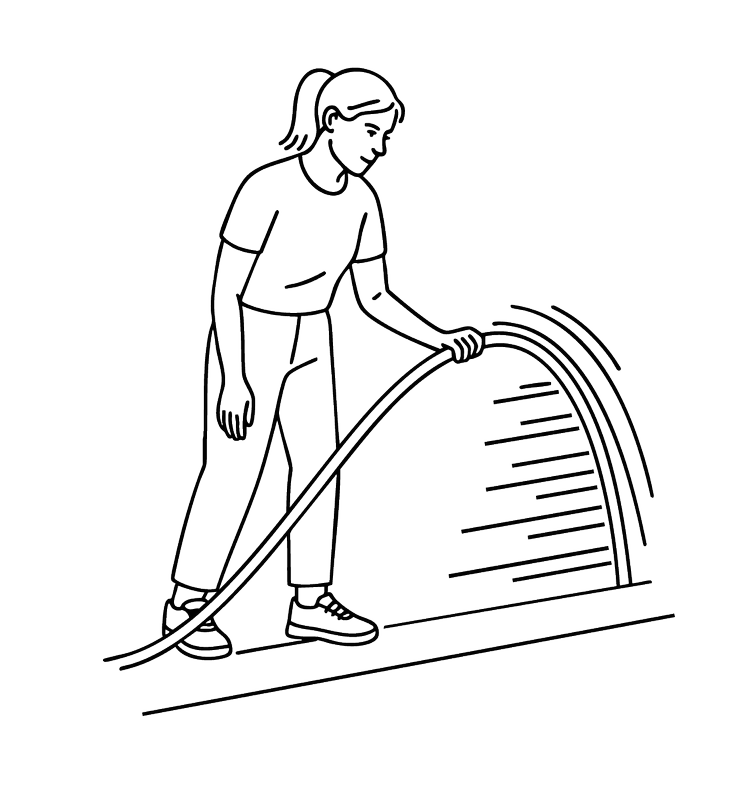
3. Start charging!
Gently pull the Kerbo Glide into the channel, ensuring the bottom of the tool is flat against the base of your Kerbo Charge channel.
Then simply pull the tool all the way through the channel and you'll see it pulling the cable through the channel behind itself. It may take a few uses to get used to it, but it will soon feel second nature.
